Technique Tips Blogs
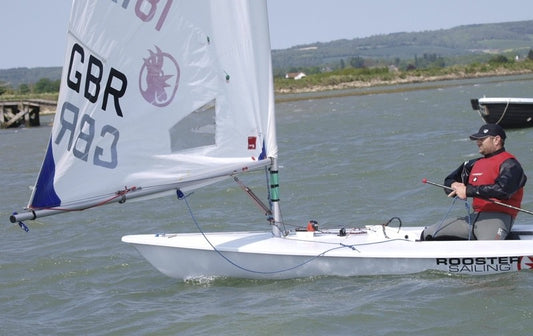
Steve Cockerill explains: 'Follow-on' ILCA Training
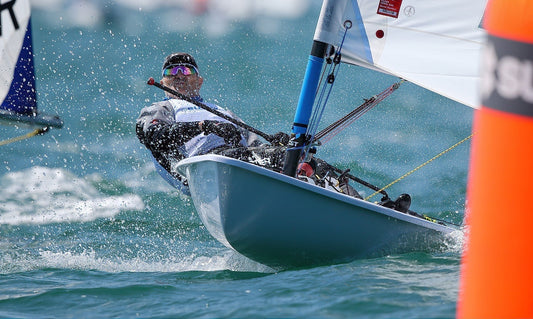
My favourite training routine for small to medium sized groups is a ‘Follow-On’.
Electrolytes and Hydration - How to avoid muscle cramp
What are electrolytes and why are they important for the hydration? Learn how to achieve the fastest possible hydration to maximise your athletic performance.
Polilite®
Rooster's lucky break. In 1998 I gave Robert Scheidt (current world number one in the then laser class) a Polilite® 7mm mainsheet to test. He loved it but requested a lighter weight version for the expected light winds that Sydney would give. We then developed the 6mm version for him and Ben Ainslie. Polilite® went onto win all three medals at the 2000 Olympics. 6mm, 6mm, 7mm took the three spots on the podium then and has made it there many times since 2000. -Steve Cockerill (Rooster Founder & Chairman)
The History of Polilite®
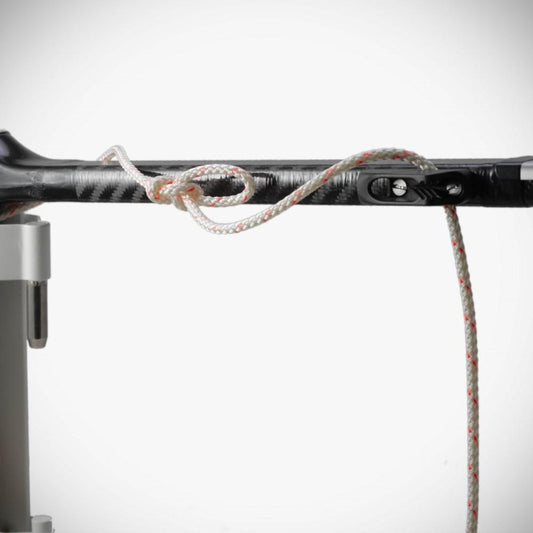
They say that necessity is the mother of invention. In my case, I had been so upset by the way the mainsheets behaved on my Laser during the 1992-1996 Olympic cycle that I was keen to finally solve it. The concept was to produce a rope that was closer to 7mm than 6mm to help reduce the tangles and make it a little easier on the hands. I also wanted it to be lighter than a normal 6mm polyester rope and primarily, I wanted it to run out easily.
I figured that it was the properties of the inner core that made the rope more likely to tangle. His idea to solve the problem was considered by the rope manufacturer to be more revolutionary than evolutionary. I had the idea to put a low tech high stretch rope as the inner core of the rope. This would make the core lighter and leave the outer core to be the load bearer. The outer core would therefore also pinch the inner core under load - which would help maintain stability. I named it it Polilite® as it's a light weight polyester sheet.
Wash & Care Instructions
Wash before use:
Wash the Polilite® mainsheet in a washing machine on a cold cycle with a small amount of powder detergent.
This removes manufacturing oils that make the rope initially slippery but were used to increase body and reduce kinks.
Handling and coiling:
Always treat the rope with care.
Coil it climbing rope-style to prevent kinks and twists.
Alternate between left twist and right twist when coiling to maintain rope stability and protect the core.
Inspection and replacement:
Regularly check the outer core for wear, as it bears the load.
Replace the rope after 1 year of weekend use.
Rigging instructions:
Before rigging, ensure all coils and kinks are removed from the rope.
Once dead-ended in the boat, the rope won’t create or absorb kinks.
A good tip: throw the rope across the boat park and pull out twists before rigging.
Top 10 Winging Tips - Theo Galyer
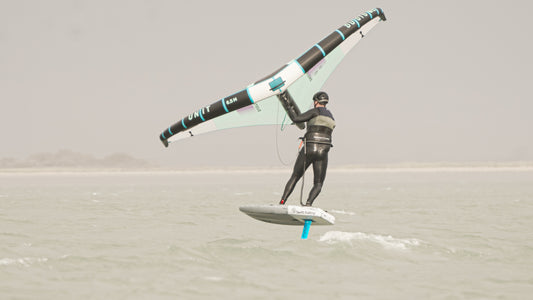
1.Make sure you start on bigger kit as this will make the start of the winging journey much less painful. For example, when deciding on a board to start your journey as a Beginner the sensible formula is Weight + 40L. So, if you are 80kg I would suggest getting at least a 120L board. As this will provide stability which is your friend. The second-hand market is massive, especially on Facebook groups as people are often downsizing kit as they progress
2.Always wear a helmet no matter your ability. The are some sharp and solid elements to the kit that are worth avoiding if possible. Make sure you are attached to both the board and wing, choose the combination that works for you. I like a waist leash. Booties and knee pads are also an essential at the beginning. Trust me I learnt the hard way and ended up with bleeding tops of toes and very sore knees. Over time you may be able to drop the boots and pads as you spend more time flying!
3.Watch out for other riders and obstacles. When you are a beginner I would hope people should give you space. Over time, you will go upwind and downwind covering big distance. Sometimes you have a loss of visibility so check to see if there is anyone downwind when you start riding the waves.
4.Stance is vital, most will have the urge to bend legs and arch back ideally stand tall, straight arms.
5.When starting out a solid breeze is your friend. I found as a 100kg rider a 20 knot consistent wind was the magic number to finally start getting first flights. It also meant going from kneeling to standing up I had something to pull myself up on. However 15 knots and above is ok especially for practicing taxiing but don’t expect miracles in this. On top of this you want to find a flat sea state if possible.
6.When you are starting to ‘Pump’ on to the foil you should point further downwind then you might initially think. Here is short but sweet tutorial; https://www.youtube.com/watch?v=oMuuOGBoASo. YouTube is your friend on this journey and there is so much out there to help progress.
7.I started using a harness to extend my sessions. It is a great hack/mod that can help give you longer sessions. When you have some ground to cover upwind it’s a life saver. It is worth considering as you start to progress.
8.Location is key, find a local spot where there are other riders. The community is super friendly and not only provide valuable tips. They could potentially spot you getting in trouble. If I am going out on my own or somewhere I might not be seen I carry a phone inside my wetsuit. Avoid offshore wind and strong currents. Dead onshore breeze can also be difficult as it is hard to get off a beach.
9.Don’t loose motivation. I assure you if you put the time in to winging it will give you a lot of joy in return. However, don’t be surprised if you spend at least 5 sessions flapping around and getting frustrated. Just remember to tell yourself that no session is a wasted one. I guarantee each time you will learn something.
10.Know your limits. It is a serious work out especially in the early days. Although it can be very tempting to keep going and going. It is vital you take breaks and know when to call it a day. I think the phrase is ‘live to fight another day’. Plus, there is only so much you can do in one session. Make sure you are having fun!
A 60 Second Trick That Might Save Your Bacon!
After experiencing some crazy winds at the weekend, I realised that it was time to change my rudder pull down rope. Not because the rope is too stretchy, but because it has no stretch at all. The downhaul rope had not cleated properly as I left the shore. I was aware that the rudder had moved up during the first beat which was quite an encouragement to keep the boat especially flat, but did make it hard to handle in the extreme conditions. You should have seen me trying to pull the rudder down and re cleat it in 25-30 knots on the run! Not really ideal, especially in the crazy destruction derby course we had at the Datchet Flyer.Most tillers use a valley cleat; Clamcleat is probably the best known. These cleats require the tensioned rope to release slightly to take the rope into the valley of the cleat. If you use a very low stretch rope, then you have no tension left in the line and the rudder lifts as it cleats.
It is then that you realise the importance of some stretchy 8 plait pre-stretch. It cleats and the tension in the rope remains. I have changed both the primary, the line that runs from the blade to the pully and the cleating secondary with some 4mm Spinfast. It cleats easily and holds tension in the line. I have also splashed out and added a Racing Junior Clamcleat with Becket (a nice little notch to anchor the 2:1 pull down line).
Note: How the rope runs over the top of the tiller from right to left of the tiller to give you more length/purchase power.
Top Topper Tip
If you are a keen topper sailor then this tip might just be for you!Do you struggle keeping the boat flat or upright going upwind in high winds? If you do then I think that this tip will great help to your topper sailing.When I started racing in my topper in strong winds I always found that my boat hated me and always wanted me wet somehow. So apart from using lots of Cunningham (to keep the fullness near the mast) and vang (to flatten the sail) tension I learnt this very good tip from my Eastern Area Development Squad, which helped me keep the boat flat going upwind. The tip was; to pull your dagger board up a little bit, which reduces the drag in the water. This will help you sail upwind without struggling. However this might let the boat slip sideways a bit, but I found this was quicker than being capsized!
Sailing at Stokes Bay - Tidal Information
I have been shown current flow diagrams that sailors use to show strength and direction. They are generally confusing - especially for me. However, I have developed a set of rules for sailing and coaching on the South Coast that have stood me in good stead for 20 years. They are simple and require the sailor to use their observance at the same time to look for the changes that will influence the decision making.Understanding the current flow at a South Coast Venue such as Stokes Bay is a key part in understanding tidal flow and tide at other coastal venues such as Hayling Island. You can work it out on the water in a snip if you remember the following thought process:1. Current fills the South Coast from the West - so current flows generally Easterly as the water comes up the beach.2. The flow starts to go out to the west - 2 hours before high water on the beach.3. In fact - this early ebb (out) on the water can happen up to an hour earlier in the shallow water of the bay than in the deep water in the channel.
How you interpret this information is another story. I have written an article for Yachts and yachting about tidal sailing which I should drag out of the bookcase and put it in this blog - or perhaps on our hints and tips page.I should add the same equation happens on the ebb. It ebbs going west - but about 2 hours before the beach reaches low water, the flow starts to come in. In fact this process can happen up to an hour sooner along the bay's edge than in the main channel.
How to Recover Your Boat With an Onshore Breeze
How you recover your boat safely with an onshore breeze depends on the type of boat you sail. As a Stokes Bay sailor, I had to quickly learn the 'Coming Ashore in an Onshore Breeze NVQ' in my Laser and more recently I have been discussing with the expert Skiff sailors how they handle coming ashore with their perhaps slightly more fragile skiffs as we still feel we have to work on our technique in our Rooster 4000 to pass that NVQ when it is significantly windy.The key to a successful recovery, whatever the boat, is to remove all power from the sails and point the bow at the beach. Removing all power from the sails and point the bow at the beach can be harder in some boats than others. In big waves attempting to turn the boat towards the wind is not viable as recovery backwards onto a trolley is near impossible and at the point of turning towards the wind you are very venerable to capsizing, which sadly can cost In a laser - we tend to drop the knot in the mainsheet so that the sail can flutter in front of the bow. I do this by shooting head to wind, perhaps 50 yards upwind from the shore where I intend to land, and grabbing the knot from the outer end of the boom. I find it easier to ensure there is plenty of slack in my mainsheet so I am not fighting the knot to come out. You might also take into account the strength of current too when you factor where you put yourself. Once the knot is in my hand, I can drift for a while to check my calculations were correct before finally dropping the knot and taking the rest of the sheet into my boat. At this stage there is no rush to remove the centreboard or rudder as these act as general guidance, keeping the boat in course to my intended recovery position. Meanwhile I untie my kicker line from the handle on my centreboard and the retaining elastic so I am now free to pull the daggerboard up at an instant. I leave the rudder and tiller fully down and tied on. You might think this is daft as I might ground. At the point of near touching, I jump out of the back of the boat and grab the transom by the traveller rope. As the laser® rudder is so short, if I am up to my waist, I can easily keep the rudder off the ground whilst I push the retainer and remove it fully from the boat. In big wave this is the safest way for the rudder too - as if it is raised it is more venerable in waves.When the conditions are very harsh I drop off the back of the boat to act as a sea brake whist hanging onto the traveller rope. Hopefully a friendly sailor can throw my trolley into the water wheels first so I can push my boat quickly out of the surf. If however, as was the case at the weekend, that I am the first ashore with no shoreside help, then to save the underside of my boat, I will capsize it and push it up the beach on its gunwale.
Drop the Knot - in a laser®
When you can't let your sail in front of the boat - then you have some sails to drop: The Skiff fleet at Stokes Bay all drop their sails along way off shore, then roll them from the head and tie a mainsheet round the rolled sail and the boom. The rest is pretty similar to the Laser®. I was also advised to drop the knot of the jib sheet of the Rooster® 4000 as well as roll the main. I imagine that in dropping the jib knot early, you have less to try and make the boat bear away when you are trying to pull down the mainsail and rolling it, which might be a significant help. We are psyching ourselves up for a windy onshore to test out our 'drop the knot' techniques in the 4000. Whatever happens there are usually lots of highly experienced sailors who are happy to save your bacon if it all goes peak tong!
How to unzip your Rooster Digital downloads onto a Mac/OSX/iPad
Unzipping the Rooster Digital Downloaded zip file on a Macbook/OSX/iPad
You should have a web page & email like the below screen snap, when you have ordered your Rooster Boat Whisper Digital Download online:
Click on the download button.
It will then download a Zip file into the Downloads folder on your MacBook.
Then open your FINDER application on the Mac, and in the downloads folder, will be a file named (in this example): Rooster _BW_combo_set.zip (its a windows 10 zip file).
Now download and install the free App UNARCHIVER for the Mac found here : https://apps.apple.com/us/app/the-unarchiver/id425424353
Now, right mouse click on the download zip file and open with Unarchiver program. Click on Extract.
You then have a new folder in your downloads folder called: Rooster_BW_combo_set
In this folder you will find the Rooster Boat Whisper .MP4 files which when opened, will play with the Apple QuickTime player.
iPad (iOS 11 or greater)
On the iPad device download the zip file and then copy the zip file to the 'On my iPad' location - see below screen snap. It’s actually really easy, so long as you’re on at least iOS 11.
Then open that folder, and then tap and hold on the zip archive file name, then choose 'Uncompress' from the options in the pop-up menu.
Wait a moment for the unzipped file contents to appear in the same folder in Files app as the original zip archive.
Enjoy...
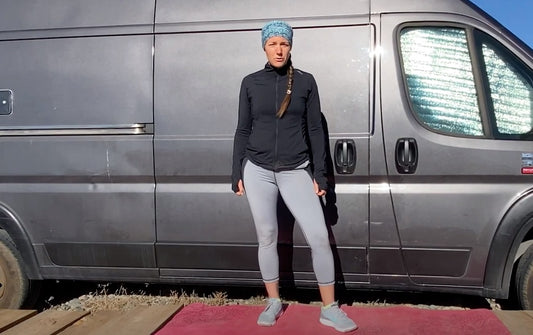
Sail Winter and Pandemic Sailing Fitness Tips by Rachel Goetting
Rachel Goetting SailWinter and Pandemic Sailing Fitness Tips and Balance Trainingorcise LLC.
With winter just around the corner and the world still amid a global pandemic, how are you staying in sailing shape? Winter is a great time to put the fitness training in to boost your sailing performance on the water. Our simple tips will help you start or keep working out all winter long. You will also find a 15-minute Sailing Balance Training video. No equipment is needed for this training, making it an excellent workout while spending more time at home with the pandemic.Tip #1: Make a PlanIf you want to stick to working out, you need a plan! Without a plan, most likely, your new or present fitness training won’t last too long. You can sit down and schedule your daily, weekly, monthly, and yearly plan for your fitness training. Look at your week and schedule when, what, and where your fitness training will fit in that week. You also want to look at your outlook for the month and year to accomplish those fitness goals. Maybe buy a small calendar or use your phone to put in the times, routine, and where you will get in your fitness training. Having a plan will help you to start and stay with your fitness training! Start planning your week out today.Tip #2: Find Something You LoveNot everyone enjoys working out, but when you find something you love, it makes doing that fitness training a lot easier. There is a lot of different workouts I love doing, but I particularly love running. I love getting outside in the mornings and going for long runs. When I don’t have a lot of time, I know that running is a quick workout I can get in to stick to my fitness training. On the flip side, make sure you find something you love and do some things you don’t enjoy. This is going to help you reach your fitness goals. Find a workout you like and put it into your plan. This will help you to start and keep working out daily! You will even start looking forward to those workouts.Tip #3: Get OutsideRise and get outside! In my opinion, there is no better way to workout than out in nature. Yes, it might be cold, but it can be the best workout if you dress properly. Go for a run or add a simple 30-minute walk into your routine. Disconnect from technology and enjoy the cold weather. We love our outdoor workouts! Running, walking, hiking are great options for the winter. Also, if you have the opportunity, get to a ski mountain for some riding or skiing. I know we are hoping for lots of riding time at the mountain this winter! With certain restrictions getting outside might be more difficult, but find a way to get some fresh air each day.Tip #4: Set a GoalSetting goals in your daily life is so essential for success. The same goes for your fitness routine. You want to have daily, weekly, monthly, and yearly goals. Having these goals is what is going to increase your performance out on the water. These goals don’t have to be big; for example, a daily goal could be to complete 50 push-ups. You want to think about your fitness goals and make a point to accomplish them daily, weekly, monthly, and yearly. Accomplish those goals!!Tip #5: Push YourselfPush yourself each day! Some days are going to be easier than others, but find a way to push yourself. I know some days I wake up and really don’t want to get out of my warm bed to go outside in the cold. But I put my clothes out the day before, and that helps push myself. I always get back from the cold run or workout happier because I did it! If we push ourselves, we will get stronger each day. You got this! Keep pushing all winter long!Check out our 15-minute Sailing Balance Training video below. This is a great workout to help stabilise your muscles and build strength all winter long so you can make significant gains in your fitness for when you get back on the water. No equipment is required for this workout making it a great workout to do anywhere anytime!
Subscribe to our YouTube channel for more on fitness and nutrition for sailing!
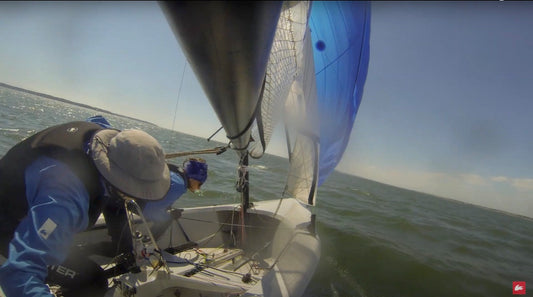
Perfecting the RS400 Gybe - well nearly. (With an extra video)
Perfecting the RS400 Gybe in a 16 knots of Breeze. I plugged in my 'Speed Puck' get some numbers and help us focus on our training.....
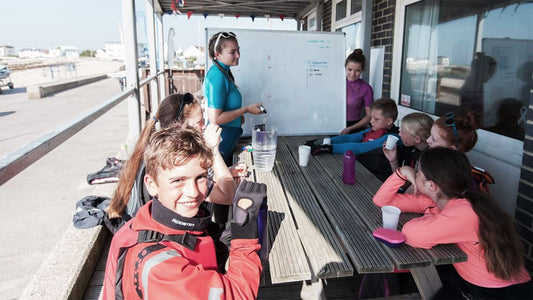
Top Tips for Sailing Instructing
I have been teaching sailing for 9 years in total and I have really enjoyed my time I have spent instructing. I first received my RYA Assistant Instructor at my local sailing club, encouraging me to help out on start sailing course and improver sessions. I then achieved my RYA Dinghy Instructor after my five-day course learning the structure and basics of the RYA method. After six years of being a RYA Dinghy Instructor I signed up for my RYA Senior Instructor which I passed in April this year. I have taught at many different centres across the country including several trips abroad to teach at a centre in Europe. Instructing is a huge learning curve and you will only improve by experience, good and bad. It is okay to make mistakes as long as you are still in a safe environment. If you are new to instructing or have been instructing for years it is always useful to hear other experiences, so here are my top tips for instructing.
Sailing Area
It is really important to outline your sailing area before you launch your session. Tell your students exactly want you want them to do, especially if you are planning an activity which involves all the students together. For example if you are doing race starts you could get each student to sail a figure of eight around the start pin and another pinpoint, to keep them all together as the other boats are launching. Giving your students an aim helps to reduce the ‘starburst’ effect where all your students are sailing off in different directions. If there are multiple buoys or markers already in your sailing area, for example in the harbour, make it clear which marks. You can use crash helmets or old buoyancy aids attached to fixed markers to reduce confusion of which marks.
Teach at different centres
If you can, try to teach at as many different centres as you can. It is so valuable to be around different instructors in different conditions. I have learnt so much from watching and listening to other instructors, it is invaluable. There will always be a different set of hazards and hurdles to negotiate. It is also good to be able to try different boats and techniques to work out what really works for you as an instructor. You will also learn different ways of teaching subjects that can be difficult or not as exciting. Games are also useful to have to hand, to break up teaching and to have fun with your students. Both adults and children will benefit from games, just make sure you pitch to the right level.
Communication
Communicating with your students can be difficult when its windy or you have an engine close by. Think about where you position yourself, perhaps upwind and out of direct sunlight is most helpful. I have tried in my instructing to establish a loud voice without shouting, this may sound strange but communicating with someone who is scared or unsure will not be comforted by shouting. This is not an easy thing to do, teaching can test your patience, but your students will get a lot more out of your teaching with a good relationship. It is also good practice to talk to your students without sunglasses on. I make sure to establish whistle signals before going afloat.
A whistle signal with both hands above my head in a triangle is Go Home- all boats back to shore that’s the end of the session.
A whistle signal with both hands on top of my head is everyone to me- all boats get close to my RHIB and stop.
A whistle signal with one hand on my head and the other hand pointing to a boat is that boat to me
A whistle signal with me pointing to my engine is follow my RHIB- a useful technique from regrouping your students.
A whistle signal with my arm raising up and down, is slow down
This is no means a full list but using a few whistle signals can reduce the amount of shouting on the water and allows lots of boats to follow an instruction simultaneously.
Purchase some wetnotes
It is so useful to have some kind of waterproof notebook and pencil out on the water with you. If you are teaching large groups it can be useful to jot down the names of your students and what boats they are sailing. Knowing the names of your students from the start of the course creates a good relationship. Jotting down any feedback is good to refer to later in debriefs. Race coaching may require a larger notebook for race results, I prefer something small to have tucked inside my buoyancy aid.
Capsizing
There is a huge split here for teaching adults and kids. Adults will often be frightened of capsizing. Some fear comes from not knowing how the boat will react and some from fear of not being climb back into the boat once its upright. If your adults are particularly nervous, on a calm day in deep water be with them for there capsize drill, either close by in a RHIB or get into the water with them (Make sure your not leaving your RHIB unattended). They will greatly appreciate you coaching them through. Teach them the best way to climb back into the boat. If it’s a small dinghy then try and get them to the toestrap, on larger dinghies with high sides the transom can often be lower. Kids however after their first capsize will always want to be in the water capsizing, which can be quite disruptive to running a smooth session. If the weather is suitable tell your students when they are allowed to capsize from the off, I usually tell them the end of the day, one at a time in the last session to avoid unnecessary cold students all day.
Equipment
When you are using club boats its no secret that they will not be in the best condition. Sorting out rigging issues is frustrating in the middle of a session. Having small bits of ropes (Instructor String), a bobble and shackle in your buoyancy aid pocket will save you time and frustration. If you are able to spend some time before the students arrive or whilst another session is running, to check over the boats for any issues, it is always easier to sort problems out on shore rather than during your session. Also look at your main areas of teaching. On shore set up an area for your teaching. What resources might you need? I check to make sure I have access to a whiteboard and WORKING pens. Make sure the area is presentable for your students, having enough chairs and a clean non-sandy floor is always a good start. I thoroughly enjoy my time teaching and I hope this helps you with your instructing as we all need to learn from each other. Please feel free to email me at abi@roostersailing.com if you have any questions or queries for instructing.


 Select Store
 EU
EU
 US
US
