Kit Guides
Avoiding Common Kit Mistakes
Kit Guide
Maintain and Repair your Topper Bailer
BAILERS – Maintain and Repair, prior to you first event! The Super Shute 60 bailer (pic 1) is expensive and is easily damaged through misuse and accident. We are always trying to find ways to keep your costs down so here goes: MAINTAIN
It only takes a moments carelessness to cause terminal damage to the bailer as the boat is slide off the trolley. How many of us have had to replace a bailer as the rest of the fleet heads off towards the start line? Just the kind of stress we don’t need!
Rinse the bailer out after sailing to get rid of any grit.
Lubricate regularly to keep the rubber soft and slippery. That way the shute will go up and down without force – we don’t want the handle coming off in our hands in the middle of the race because we had to pull too hard! DON’T USE DRYLUBE – it makes the plastic very brittle. The one in picture 2 is available at DIY stores for putting waste pipes together.
Be aware that cold weather makes plastic more brittle and needs more careful handling
REPAIR You can replace the whole thing which has the advantage of taking very little time. Do check it’s in the correct way round (don’t ask!).
Incidentally you must use the original (or equivalent) nuts and bolts to stay class legal.
The Topper class uses Y10 bolts to stay class legal. These are pan head bolts. see : Topper Y10 Gudgeon Plate/Bailer/Centre Main Screw - Single - A4 Stainl – ROOSTER UK (roostersailing.com)
Rooster Sailing stock a number of the parts that break (shute, gasket, handle and flap – see pics 3 &4) and it is always cheaper to repair rather than replace. The following can be done with the bailer still in the boat but it is so much easier with it out:
Unscrew the plate from the bottom of the bailer (pic 6) – they are small fiddly brass screws I’m afraid.
Un-clip the little circlip from one end of the stainless handle pivot with a small screwdriver – careful they spring everywhere!
Drive out the pivot with a suitable punch which is best done in a vice (pic 5). If the handle falls off in a race, hold on to it because we cannot source the pivot.
The shute will now come out through the bottom and can be replaced with the new one. Be careful which way round it goes – there is a hollow in the rubber seal (pic 7) that accepts the small piece of plastic on the thin end of the shute that acts as a hinge.
The flap (pic 8) should be fitted to the shute prior to fitting and it is possible to re-use your old one. The flap pivots on two tiny lugs that come out of each side. They are so small and flexible that you can bend them backwards and forwards a number of times before they break. The old one can be pulled off (just go for it) and the lugs straightened out. I put one of the lugs into the appropriate hole on the shute and pull the flap into place. That way you hope the other lug will seat in the other hole on the shute. Wriggle (a technical term) the flap around until it moves freely. Replacements are cheap so you can afford to take a risk.
The pivot has to be driven out because the hole through the plastic tube is tight and it doesn’t need to be. While it’s out why not drill the centre out so it’s an easy fit?
Reassemble the handle again taking care of flying circlips.
Then of course the plate gets screwed back on and the bailer fitted to the boat. Having a ready repaired bailer as a spare is probably a good idea so you can rotate between the two if and when they get broken.
GET YOU HOME REPAIRS If the worst comes to the worst and a bailer comes apart during a race there are two things you can do depending on what breaks:
If the handle comes off (hold on to it remember) and the shute falls out then there will be a large hole in the bottom of your boat (fortunately Toppers do not sink but carrying a small swimming pools worth of water around with you is not fast). You could do with plugging it. I made a simple device (pic 9) out of two bits of plastic and a piece of elasticated rope. It’s a bit hard to see but you fit the lower end through the hull from the inside and twist it sideways. The top piece slides down the bungy which is cleated off in a ‘V’ I cut out of one side of the hole (a knot in the cord holds it in the ‘V’.
If the hinge breaks off then use a small length of rope to tie the handle off to the side toestrap.
Clearly in both cases you no longer have a self-bailer but the water can be kicked out of the boat backwards.
The Super Shute box instructions can also be found HERE
Topper Mast Cup Assembly
To remove an old cup:
Remove the mast gate for easier access.
Remove the nut and washer from the top of the cup.
Remove the cup. Few come off easily. The last one I did came off easily after I power washed around it. I imagined I'd broken any suction and cleared any build up of grit. In the past we have gripped the lip with a pair of long nose pliers and ‘unscrewed’ them. The easiest way is to drill out the ‘core’ of the cup with a 22mm hole saw. This will expose the second nut below the cup.
Working both sides of the boat, use a large screwdriver and long reach socket to remove the nut from inside the boat and withdraw the bolt from the outside.
Remove the deep black rubber sealing washer from the inside of the boat.
Clean up the whole area.
To replace the cup: The procedure is simply the reverse of the above but do note:
The order is – screwdriver headed bolt / brass insert / black rubber seal / washer / nut / cup / washer / nut.
A small amount of Sikaflex or similar polyurethane sealant on the rubber sealing washer is useful but should not be necessary.
It is necessary to tighten the first nut fairly well but you do not have to really tighten the one on top of the cup.
Protecting Your Assets - a Buyer's Guide for Spar and Foil Bags
Blog entry by Steve Cockerill
Putting your spars and foils into a cosy bag feels like the right thing to do. But if you are not careful, what appears to be a caring thing, might also be the worst thing. After sailing on salt water, we should wash our spars down with fresh water and where possible allow them to dry out. I tend to bag mine for safe keeping in transit. However, many bags use non-breathable fabrics and foams in their construction which trap any residual moisture. Moisture encourages dissimilar metal corrosion where stainless or Monel rivets react with the aluminium of the mast. The fizzing is proof of the corrosion taking place. What you need is a spar bag that breathes.Foils packed away in a non-breathable foil bag will sweat rather than dry out, causing Osmosis.
Ideally, you should dry off your foils before packing them away. Again salt water is a hindrance as it attracts moisture so a quick wash helps to remove the salt and gives it a chance to dry out. Look for foil bags that breathe.
What to Look For
Open cell foams with a breathable membrane is the safest option for both Spars and Foils. Spars and foils dry out naturally if they are packed damp which prevents dissimilar metal corrosion and osmosis. In my experience, many manufacturers are keen to save money on material cost which ends up costing you more in replacement spars and repairs to foils.
Below are some of the bags we make to protect your gear:
Padded Spar Bag 3650mm by 165mm (Laser Top Mast, Aero Top Mast and 9 Lower Mast, Lightening Upper and Lower mast)
Padded Spar Bag 2950mm by 165mm (Laser Boom and Standard Lower Master, Topper Upper, Lower Mast and Boom, Aero 7 Lower Mast, Aero Boom, Optimist Lower Mast and Lightening Boom)
Padded Spar Bag 2350mm by 165mm
Optimist Foil Bag
Foil Bag for the Laser/ILCA - also fits the Europe
4000 Rudder Bag
4000 Daggerboard Bag
Solo Rudder Bag
Solo Mast Bag
Europe Travel Mast Bag
Europe Boom Bag
Junior Sailing: A Guide to Getting Going! By Nick Welbourn
If you’re sailing at junior level you may think that as autumn approaches the season draws to a close, but if you’re enjoying your sailing and want to improve, winter can be the best time to do this.
Some smaller clubs reduce the amount of sailing that’s available over the winter months so it’s worth persuading your parents to put the boat on the roof rack so that you can take advantage of some of the great training opportunities that exist through Class Associations. Before moving into Lasers (4.7s & now just starting in a Radial), I sailed a Topper for 4 years and the International Topper Class Association (ITCA) offers a great programme of locally based training each winter. From first starting out to when competing at National Squad level I found that it really helped me to gain knowledge, not only from the coaches, but through meeting other sailors who sail the same type of boat and who can share tips and advice on which events to attend and how to progress. Aside from that it was also great fun! Here are some links that detail what’s available across some of the Junior classes:RS TeraCadet
TopperRS FevaLaser 4.7 (or ILCA4)
Some smaller sailors can find it off-putting when the weather turns colder but if you’ve got the right clothing then sailing can be just as enjoyable whatever the weather. In my first season I was less than 40kg and was advised to wear a dry-suit. This was fine once I’d realised that it’s what you wear underneath and not the suit itself, that keeps you warm. As soon as I started doing events that involved staying on the water for longer, a wetsuit layering system became a much more practical option and something that I found I much preferred. Rooster do a great range of kit for sailors of all sizes and in a previous blog I talked in more detail about what I’ve found works best for me. You can read this HERE
After training over the winter I love the feeling that you get when you start to compete again and can put into practice what you’ve learned. It’s as if you’re taking off a blindfold as you find out where you are in the rankings again. When you’ve tried club racing a good next step is to enter open events on your local traveller circuit, these generally start in the spring and details will be published on your Class Association website. In my experience these events tend to be really friendly and welcoming and if you’ve done winter training through the Class Association they’re a great way to meet up again with the friends that you’ve made from other clubs. There's some RYA support in getting involved with higher level training HEREI started on the pathway to national sailing more or less by accident (and partly due to my mum’s bad geography) and I’m hoping that by sharing these tips it may be easier for others to make the most of what’s on offer. I think the best advice that I can give is:- Don’t be afraid to enter events and try things that are new - remember that most sailors are happy to share experiences and give advice, so do just ask! - Don’t be put off if things don’t work out as planned straight away, enjoy your sailing and if you’re going to be winter training in a Laser Radial this year I’ll see you on the water, come and say "Hi!"
Nick Welbourn :-)
How To Keep Warm When Training Through The Winter
First Published by Nick Welbourn - October 2016.
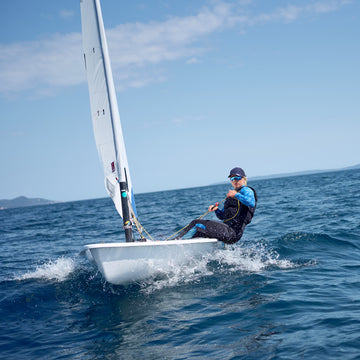
As the sailing season draws to a close many people will be packing up their boats for the winter and forgetting all about sailing for a while. But if you're one of those oddballs who’s getting ready to sail straight on through the winter, whether it’s for your club’s winter series or for squad training, like me, you’re going to need to make sure that you're prepared for whatever the lovely British weather may throw at you.
I remember, three years ago, aged 11, when I was first selected for the Topper North Zone Squad I spent most of the winter simply trying to stay warm. At this time of year many young sailors across the country who have just been selected for zone squads etc. may be about to face the same dilemma so, 3 years on I thought I’d share what works for me.
I began my first winter in a dry suit. It was OK to start with, I could just about stay warm and get through the day when training inland, but with a dry suit the warmth comes from what you wear underneath it and I really didn’t enjoy being bulked up like the Michelin man. Also, as soon as I started sailing on the sea, which sometimes meant being out on the water for up to 6 hours at a time, a dry suit just wasn’t practical.
I then spent a long time trying to find kit that would keep me warm through winter, not restrict movement and not bankrupt my parents. That was when I discovered Rooster and, after trying various options, I have finally got there. I’ve got kit that keeps me warm in all weathers and I can concentrate on sailing and improving rather than just thinking about how cold my hands are!
I think there are a few important things when trying to get the right kit to keep warm:
1 - Base Layers . A common mistake that you see people making in winter to try and keep warm is layering rash vest over rash vest. I tried it when I started sailing - it doesn’t work! The theory behind this is explained by Steve in this video. Once I’d realised this mistake and switched to Polypro it made a huge difference. They work really well as they wick the moisture away from your skin. For the autumn, and even on cooler summer days, I wear a Polypro Top under my sailing wetsuit and as the temperature drops I add Polypro Socks, Leggings and other layers.
Photo Courtesy of Simon McIlwaine - www.wavelengthimage.com
Rooster Topper Worlds 2016.
2 - Mid Layers Then comes the most important layer - the wetsuit. Rooster seem to have got this right with the Supertherm Longjohn and Top. My Supertherm Longjohn is probably my favourite Rooster product. By swapping and changing other layers I’ve worn it all year round, layered up in winter or just with a polypro top underneath on cool summer days. I can also fit my Rooster Hiking pads inside the long john.
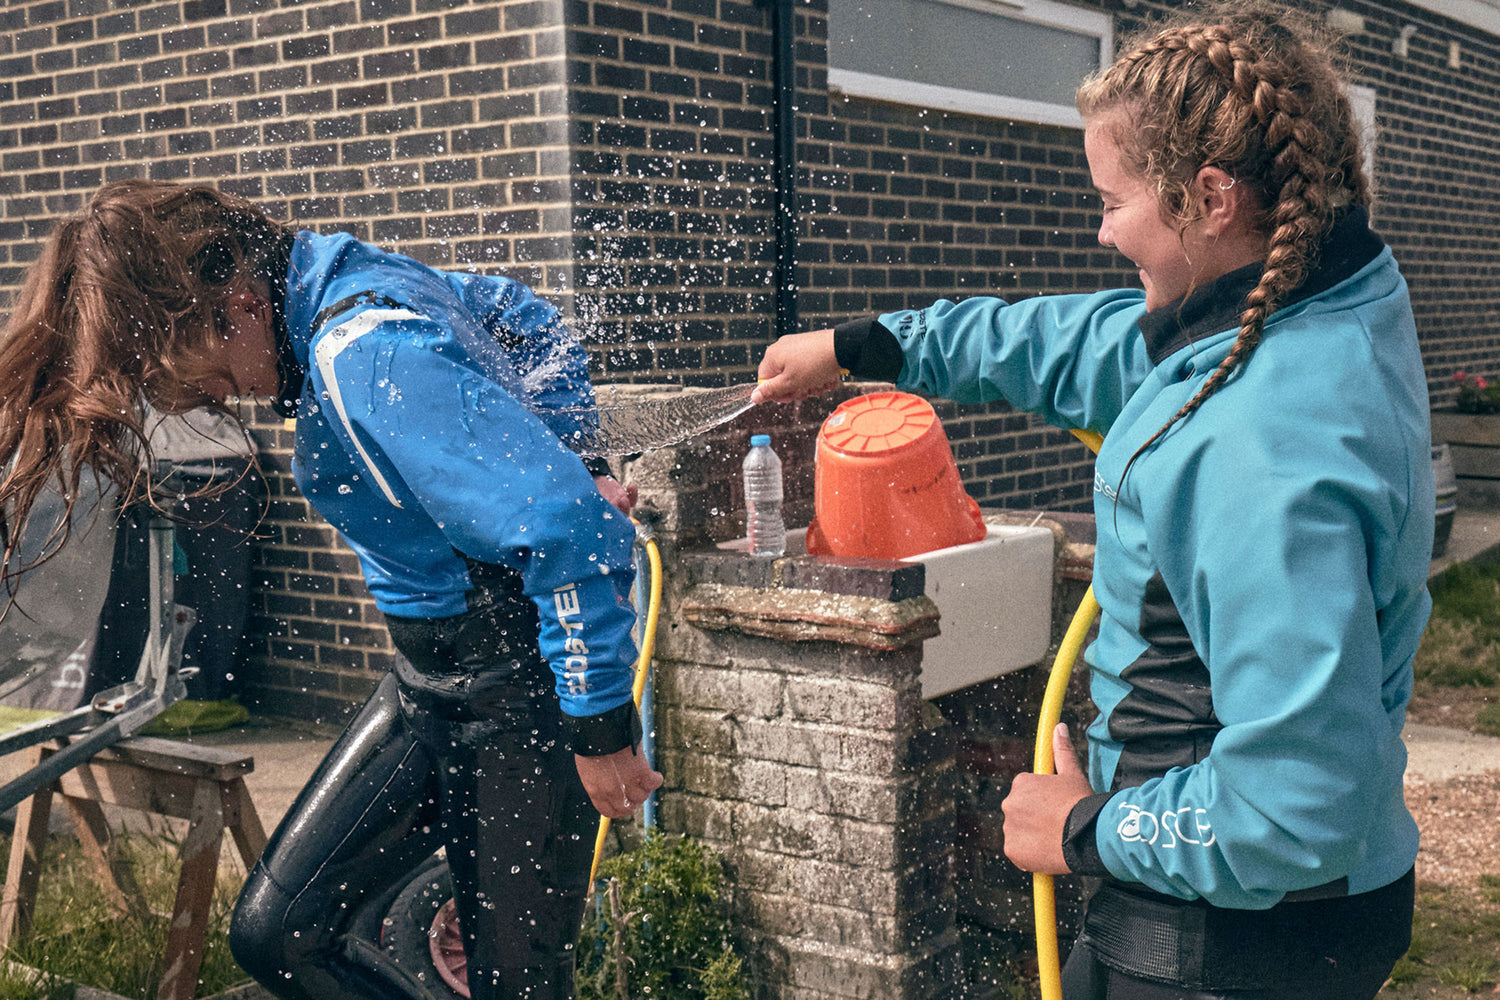
3 - Extremities To keep my feet warm under my sailing boots in winter I wear a pair of Supertherm Wet Socks over my Polypro socks, just to add an extra layer of warmth, as it is very easy for hands and feet to get cold.
What to wear on my hands has always been a tricky one for me as I find that I need both a lot of grip and also a lot of warmth; a tricky combination to find. I have tried normal sailing gloves and thermal builders’ gloves and loads of other types of gloves, but now I think I have finally found the right solution for me. I wear Rooster AquaPro gloves, which are really good because the fleece lining keeps your hands warm. They also keep your hands mostly dry and with the fancy PU coated Amara grip on them I am certainly not short on grip. I also usually wear a pair of Rooster Hot Hands which are basically a Hot Top for your hands! And recently I have been trying Rooster’s Polypro glove liners.
Photo Courtesy of Simon McIlwaine - www.wavelengthimage.com
Rooster Topper Worlds 2016.
4 - Top Layer On top of all this it is important to have a good spray top to beat the wind-chill. In winter I wear a Rooster Pro Aquafleece. I find that this is a great product because, as well as having wind chill protection, it also has a lovely fleece inside to add even more warmth and the adjustable seals at the waist and wrists prevent cold water flushing when you hit a wave. Along with this I wear an Pro Aquafleece Beanie as it doesn’t absorb as much water as a usual knitted hat would if you happen to be unfortunate enough to fall in!
I find that if you wear the right kit it makes sailing in the winter so much more productive and most of all enjoyable. Each time someone else retires from a race because they’re cold, if you’re still out there you’re assured of finishing one place further up the fleet!
Nick Welbourn
Gear Guides
Need help finding best kit for you? we got you covered.
Product Support Hub
Videos and instructions to give you tips and tricks.
Garment Care
The right care helps your gear perform at its best and go the distance.
The Blog
Discover tips, tricks and stories from the Rooster team and guest writers.
Revive
Need repairs? Our trusted local partner has you covered.
Custom Clothing
Custom performance clothing for clubs, events, and organisations.
- Choosing a selection results in a full page refresh.
Select Store
EU
US