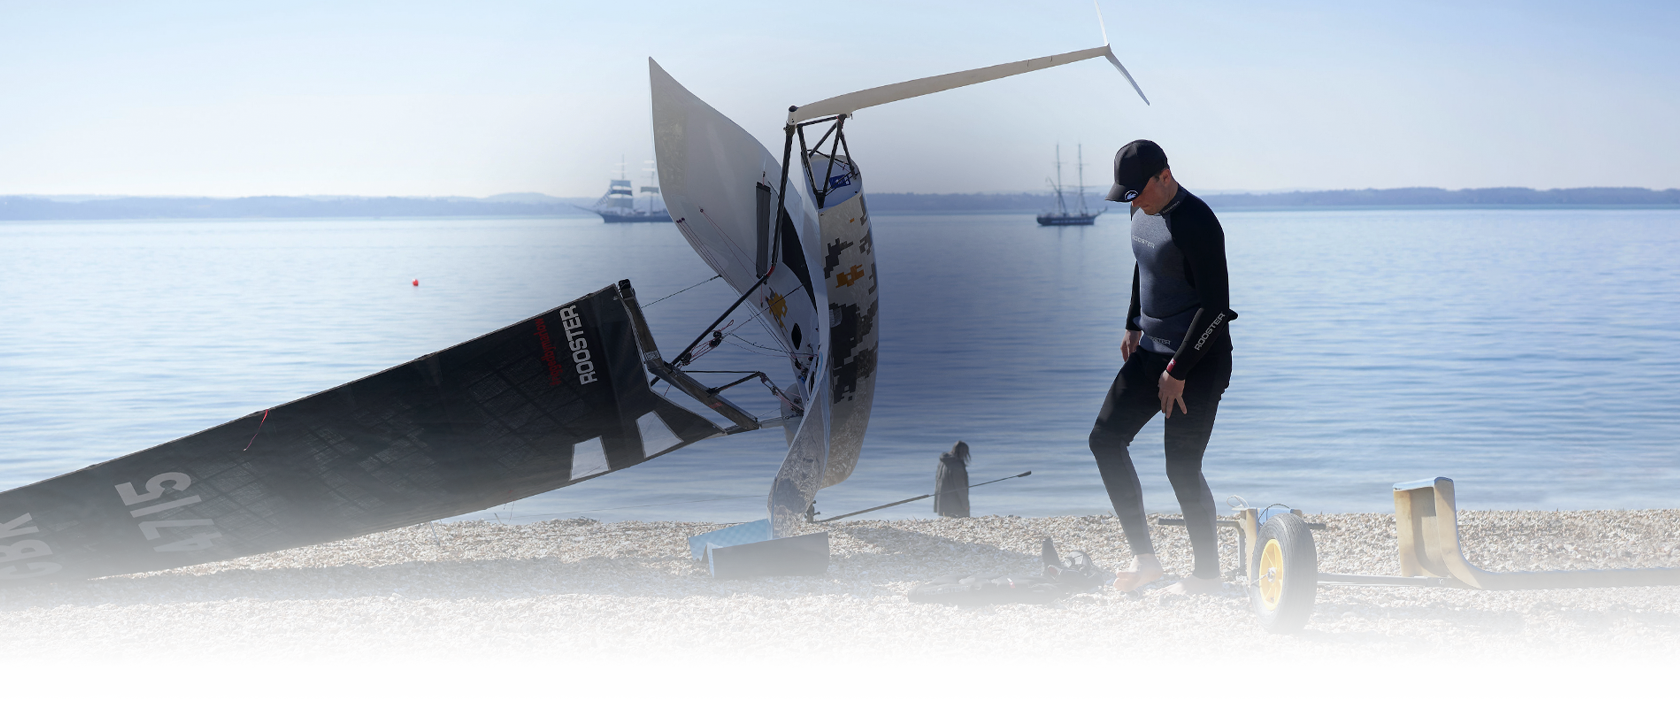
Boat Maintenance Tips
Blog articles on looking after and improving your dinghy, keelboat, or SUP, including articles showing how to repair or fix issues.Categories
Popular tags
14
2000
29er
4000
asymetric
bailer
boat prep
buyers guide
Category_Aero
Category_Chandlery
Category_Fireball
Category_Hack
Category_Hints & Tips Index
Category_Hints and Tips
Category_I14
Category_Kit Highlight
Category_Laser
Category_Merlin Rocket
Category_Nacra 17
Category_National 12
Category_New Products
Category_Rooster
Category_Rooster 4000
Category_RS 200
Category_RS 300
Category_RS 400
Category_RS800
Category_Scorpion
Category_Solo
Category_Steve's Blog
Category_Team Rooster
Category_Technical Kit
christmas
dinghy
dual core
easysplice
Epoxy
Europe
Export
Fireflies
firefly
Foiling
Go faster products
Graduate
Hack
halyard
Hints and Tips
ILCA
Laser
Laser Masters
laser radial
mainsheet
maintenence
Merlin Rocket
Moth
Musto Skiff
National 12
New Products
Orbit
R & D
rigging
Rooster
Rooster 4000
rope
Rope Splicing
RS 100
RS 200
RS 300
RS 400
RS 600
RS Aero
RS200
RS300
RS400
RS500
RS800
Sailing Solutions by Rooster
Scorpion
self bailer
skiff
Solo
spectwelve
SpeedSIX
spinfast
spinnaker
splice
splicing
spring
Steve's Blog
Team Rooster
Tool Box
Topper
trailer service
Tuning Guide
twin
Video
West System
Solo
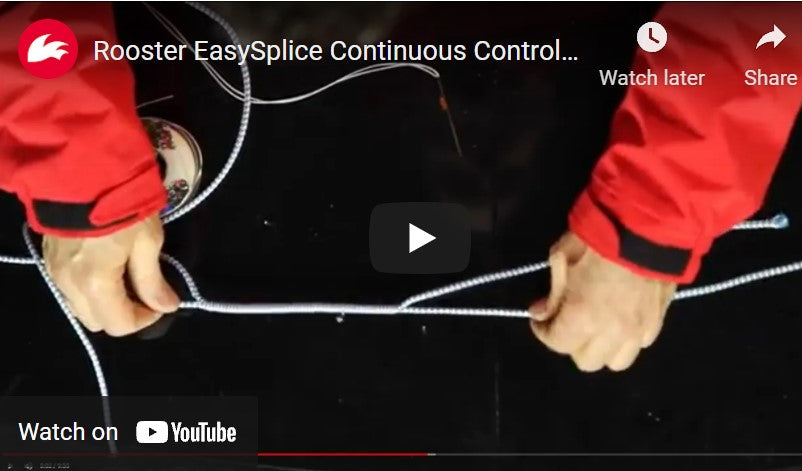
Continuous Control Lines Made Simple with EasySplice
How to splice your new continuous control lines using Rooster EasySplice